Baking and Pastry
- Bake Bread Basics
- Pastries And Pies
- 4.1Basics of pastry making
- 4.2Types of pastry: Shortcrust, Puff & Filo
- 4.3Making Quiche and Tarts
- 4.4Making Sweet Pies (Apple pie)
- 4.5Making Savory pies (Chicken pot pie)
- 4.6Making Choux pastry & Cream puffs
- 4.7Making Éclairs and Profiteroles
- 4.8Specialty Pastry: Mille Feuille
- 4.9Flaky Pie Crusts: Tips and Techniques
- 4.10Creative Pie Decoration Techniques
- Cakes & Cupcakes
- Cookies & Small Bites
- 10.1Cookie Baking Basics
- 10.2Classic Almond Biscotti
- 10.3Making Chocolate Chip Cookies
- 10.4Nutty Walnut Cookies
- 10.5Making Sugar Cookies and Decorating with Royal Icing
- 10.6Making Macarons
- 10.7Making Petit Fours
- 10.8Specialty Cookies: French Madeleines
- 10.9Specialty Cookies: Italian Amaretti
- 10.10Packaging & Presentation of Cookies and Small Bites
Cookies & Small Bites
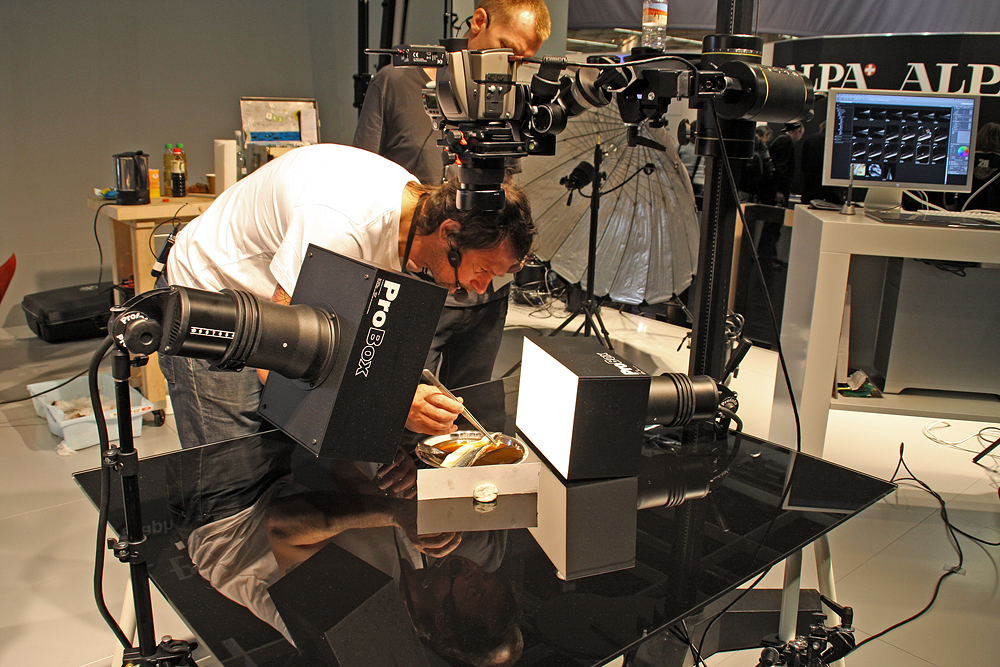
Mastering Food Photography for Your Baked Goods
Photography genre.
In the world of baking, the visual appeal of your creations is almost as important as the taste. With the rise of social media and food blogging, being able to capture stunning photos of your baked goods is a valuable skill. This article will guide you through some basic food photography tips, focusing on how to use natural light and style your baked goods for photos.
Basic Food Photography Tips
-
Use a Good Camera: While smartphone cameras have come a long way, a DSLR or mirrorless camera will give you more control over your photos. However, if a smartphone is all you have, it can still take great photos with the right techniques.
-
Learn the Basics of Photography: Understanding the basics of photography, such as aperture, shutter speed, and ISO, can greatly improve your photos. There are many online resources and tutorials available to help you learn these concepts.
-
Use a Tripod: A tripod can help you take sharper photos and make it easier to experiment with different angles.
Using Natural Light
Natural light is the best light for food photography. It's soft, diffused, and brings out the true colors of your food. Here are some tips for using natural light:
-
Shoot Near a Window: A window can act as a great source of natural light. Try to set up your shooting area near a window that gets plenty of light.
-
Avoid Direct Sunlight: Direct sunlight can create harsh shadows and overexpose your photos. Try to shoot during the early morning or late afternoon when the light is softer.
-
Use Reflectors and Diffusers: Reflectors can help bounce light onto the darker areas of your food, while diffusers can soften harsh light.
Styling Your Baked Goods for Photos
Styling is an important part of food photography. It's all about arranging your food and props in a way that tells a story and makes the food look appetizing. Here are some styling tips:
-
Use Props: Props can add depth and interest to your photos. This could be baking tools, ingredients, or even a cup of coffee. Just make sure the props don't distract from the food.
-
Think About Color: Use contrasting or complementary colors to make your food stand out. For example, if you're photographing a chocolate cake, you could use a white plate to make the cake stand out.
-
Add Texture: Adding texture can make your photos more interesting. This could be a linen napkin, a rustic wooden board, or even the crumbs from your baked goods.
-
Don't Overstyle: Remember, the focus should be on the food. Don't overcomplicate the scene with too many props or too much food.
Remember, practice makes perfect. The more you practice your food photography, the better you'll get. So, start baking, start shooting, and most importantly, have fun!